Book Printing: What are Crossover Images?
estimated reading time: 6 minutes
Crossover Images
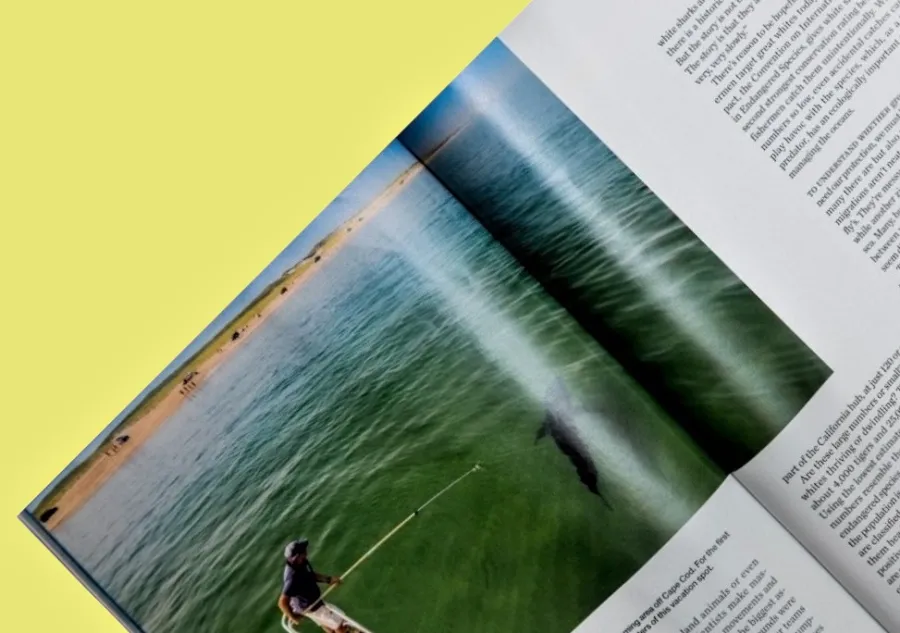
The term "Crossover Image" refers to any continuous image or
graphic that flows from the left side page to the right side page of an open
book. Crossover images could be any combination of photos, illustrations,
designs, borders, or text.
Instead of being confined to one page or the other, the
image crosses over the center junction of where the left page meets the right
page (gutter) and prints on both of the pages.
Because the image traverses the book's gutter, a crossover
image is sometimes referred to as a "gutter jump."
Also, it is important to note that a crossover image can
span over the entire page spread or only a portion of the image might print on
each opposing page.
What effect does Binding Style have on Crossover Images?
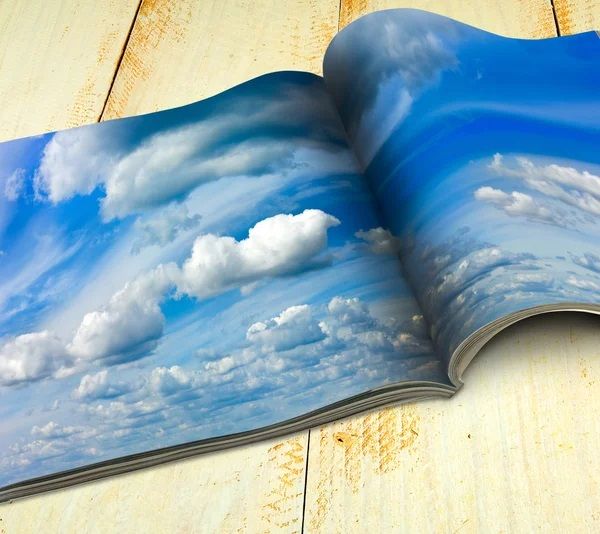
When designing the pages of a book, magazine, or other bound
document, crossover images are often looked upon as a way to make the layout
more interesting and appealing.
Though crossover images may flow seamlessly across a page
spread when viewed on a computer monitor during the book's design and layout
phase, it is important to know that some binding styles can affect the smooth
flow of crossover images.
That being said, below is an overview of things
to be aware of when using crossover images in conjunction with certain binding
methods...
Perfect Binding and Hardcover Binding
Neither of these binding methods will produce books that lie
perfectly flat. Hence, there will sometimes be a deep gutter where opposing
pages meet. The gutter can swallow up a portion of the crossover image
and keep it obscured from view. This means the artwork for the two opposing
pages will need to be adjusted to compensate for this visual gap.
There are several workarounds to address this issue,
including overlapping or shifting the artwork. However, since the fix will depend on the specifics of your project as well as the binding equipment that will be used to create the
books, always check with your printer early in the design process to see what
they recommend.
Spiral Binding, Wire-O Binding, and Comb Binding
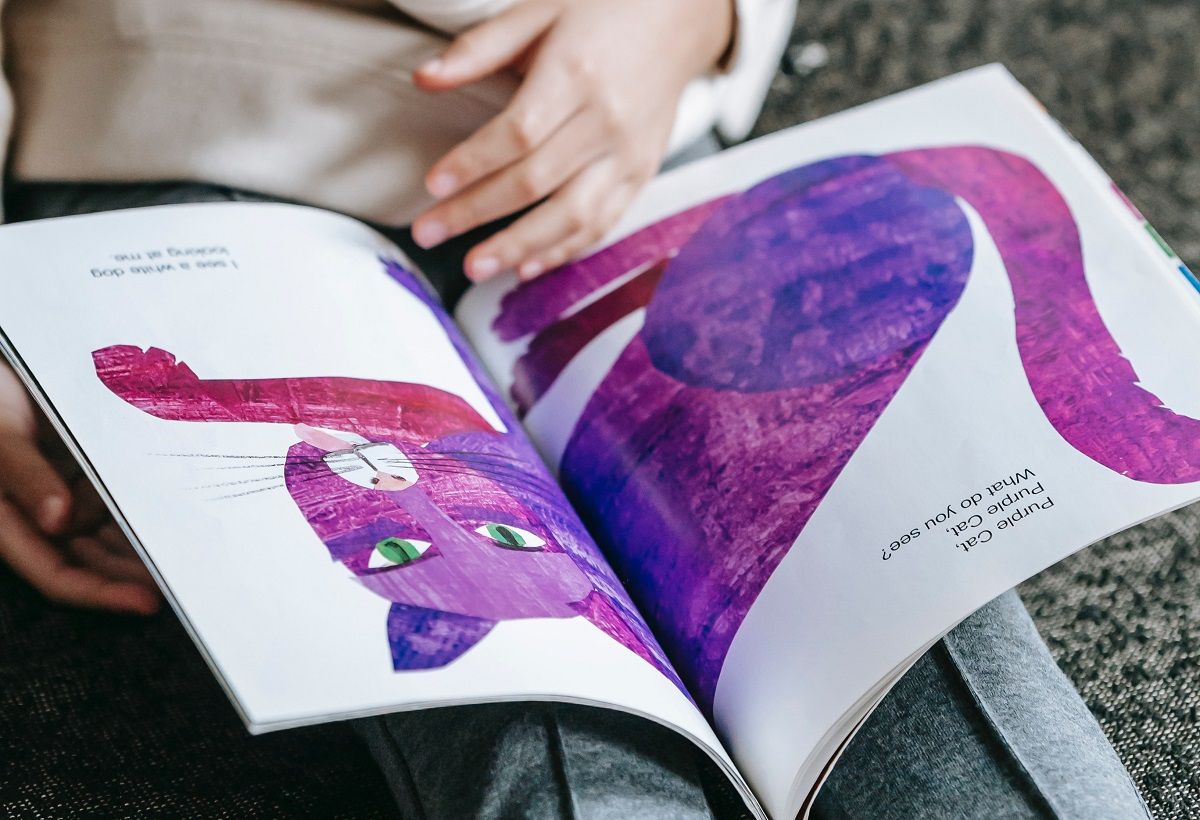
All of these punch-and-bind methods use a preformed spine element to join a book's pages and cover together.
Crossover images can be used in conjunction with these binding styles. However, the flow of the image will be interrupted. There will be a physical gap between the left side page and the right side page. The image will also be disrupted by the spine element itself as well as the holes or slots punched to accept the spine.
The spiral binding method adds another wrinkle because it uses a helical coil to join the cover and pages. This causes opposing pages to have a slight upward or downward shift from each other. It is important to know these limitations upfront so you aren't hit with any unexpected surprises.
Saddle Stitch Binding
The saddle stitch binding method can sometimes pose a real
challenge for crossover images. Even though saddle stitched books will open relatively flat and
won't lose any part of the image to a deep gutter, this construction method has
a propensity toward slight misalignments of crossover images.
Because saddle-stitched books are constructed from folded
sheets that are nested together, the pages are arranged differently than other
types of books. Using a simple 8-page saddle-stitched book as an example, page
1 of the book would print opposite page 8 on the same side of a sheet. Page 2
would print opposite page 7 on the reverse side of the 1 and 8 sheet. Page 3
would print opposite page 6 on the same side of a sheet. Page 4 would be
printed opposite page 5 on the reverse of the 3 and 6 sheet.
In this example, only the spread containing pages 4 and 5
would contain 2 consecutive pages that oppose each other on the same side of a
sheet. Hence, a crossover image would work well on pages 4 and 5 because it
would flow without interruption. In fact, the two centermost pages of any
saddle-stitched book (where the staples are cinched) will always be the perfect
place for a crossover image.
On the other hand, if a crossover image is desired on any
pages other than the two centermost pages, the placement of the images is not
as straightforward. For example, if we wanted a crossover image to span all the
way across pages 2 and 3 of an 8-page saddle-stitched book, the left side of the image would print on the sheet
used for pages 2 and 7 and the right side of the image would print on the sheet
used for pages 3 and 6.
Not knowing how your printer will eventually impose the
sheets for printing can make it even harder to visualize which half of an image
goes where. This only grows trickier as the page count increases. Fortunately,
the pages will end up in the right order because your printer will use
sophisticated software to impose the pages.
However, because some crossover images are likely to end up
on two different sheets within a saddle-stitched book, this means the two
halves of the image won't be physically reunited side-by-side until after the
pages are folded, trimmed, assembled, and bound.
And this brings us to an important point, which is that a
saddle stitch book will be subject to subtle equipment variances as the pages
make their way through the folding, trimming, collating, and stapling
operations. Because automated processes often incur jolts and vibrations,
slight variances can and will occur. Even the most precisely engineered
machinery in the world has tolerance ranges to account for manufacturing
variances.
So if any one of the saddle stitch production processes are
off by even a miniscule amount, the two halves of a crossover image are not
likely to match up 100%. This is why crossover images often require some placement tweaks when used on saddle-stitched books, unless the crossover image is placed on the two
centermost pages.
In any event, it always pays to have a
discussion with your printer before getting too far along in creating a book's
layout. Their insight and recommendations
for using crossover images in conjunction with your preferred binding style
will help to ensure the success of your project.
General guidelines for Crossover Images
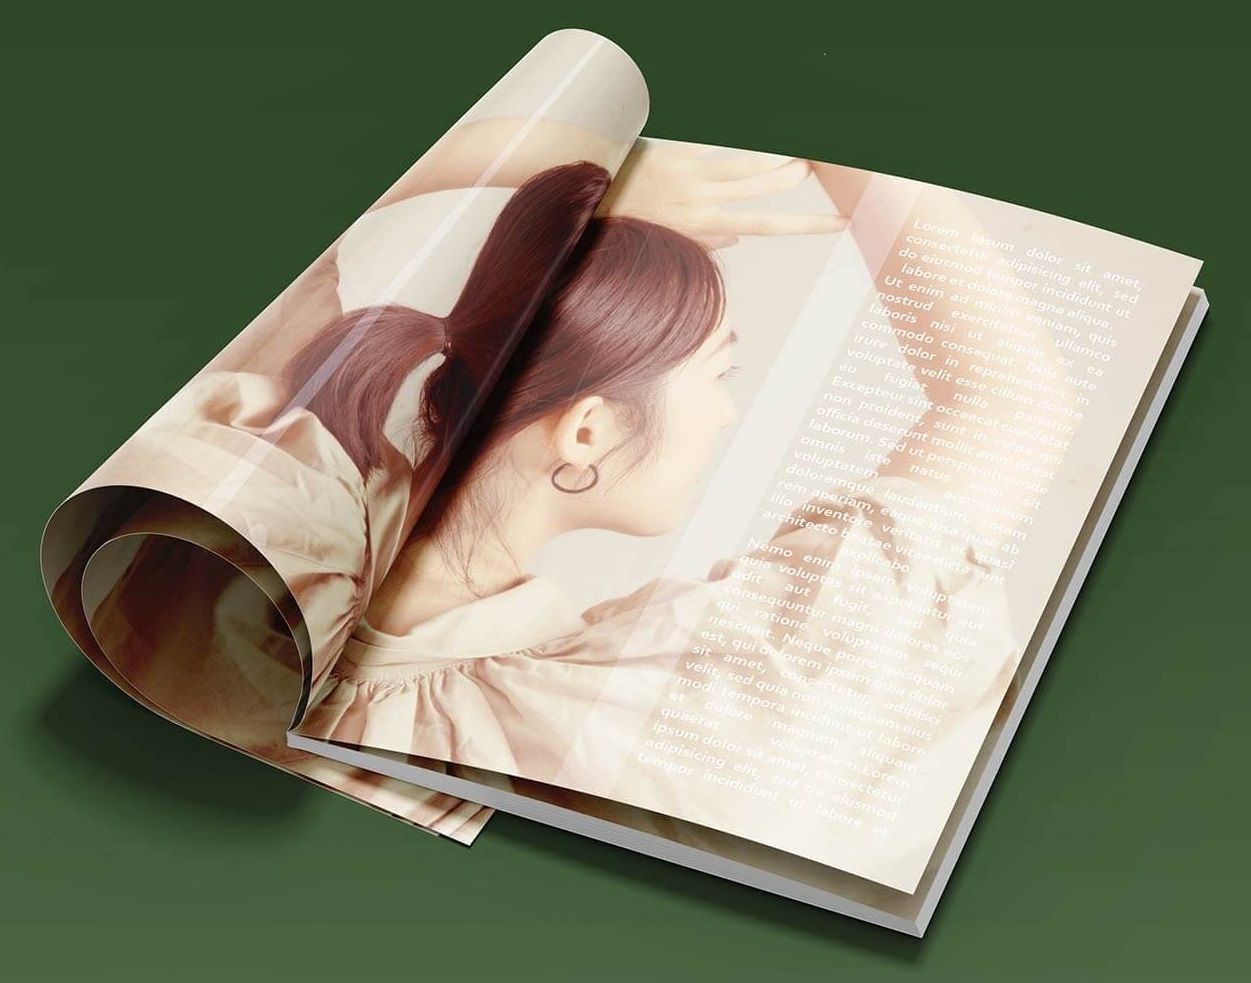
1. Be mindful of what part of the image is positioned directly over the gutter. You don't want people's heads or bodies, or any other central design elements to appear distorted.
2. The more defined and structured an image is, like a
person's face or a repeating geometric pattern, the more any misalignment will
be noticed. The less defined and more random an image is, like a grove of trees
or the wavy surface of a lake, the less likely any misalignment will be noticed.
3. Avoid the use of diagonal lines across the gutter because
any variation will be clearly noticeable.
4. If text is involved, larger text works better than small
text. Also, avoid placing words and headings over the gutter. If this is
unavoidable, try to align the space between words over the gutter instead of
any letters themselves.
5. You might also want to increase the spacing between words
so that the wider space can traverse the gutter instead of losing any part of a
word into the gutter.
6. If possible, blending the image to a consistent color as
it passes over the gutter will eliminate any perception of distortion or
misalignment.
Color Vision is here to assist you!
We also have both offset and digital printing presses, so whether
you need a hundred books or several thousand, we are ready and able to assist.
If you have a current print project and would like a quote, simply fill out our Quote Request form and we will email a quote to you.
Or, if you prefer to discuss your project by phone, we can be reached at 800-543-6299.
We look forward to hearing from you and
sincerely hope you will give us the opportunity to assist with your next
printing project!
Related Articles
Custom Book Printing: What is Wire-O Binding?
Read This Article
Booklet Printing: 7 Fast Facts about Saddle Stitch Booklets
Read This Article
Book Printing: Comb Binding vs Spiral Binding
Read This Article
Book Printing: How the Margins of a Book enhance Readability
Read This Article